How To Set Default Launcher in Vivo
Setting the default launcher on a Vivo phone is a simple process that can be done through the Settings app. Here’s a guide with screenshots to help you out:
1. Download and install your preferred launcher app. There are many third-party launcher apps available on the Play Store, such as Nova Launcher, Apex Launcher, and Niagara Launcher. Choose one that suits your preferences and download it onto your phone.
2. Open the Settings app. You can find it on your home screen or app drawer.
3. Go to “More settings”.
4. Tap on “App permissions”.
5. Tap on “Default app settings”.
6. Tap on “Home screen”.
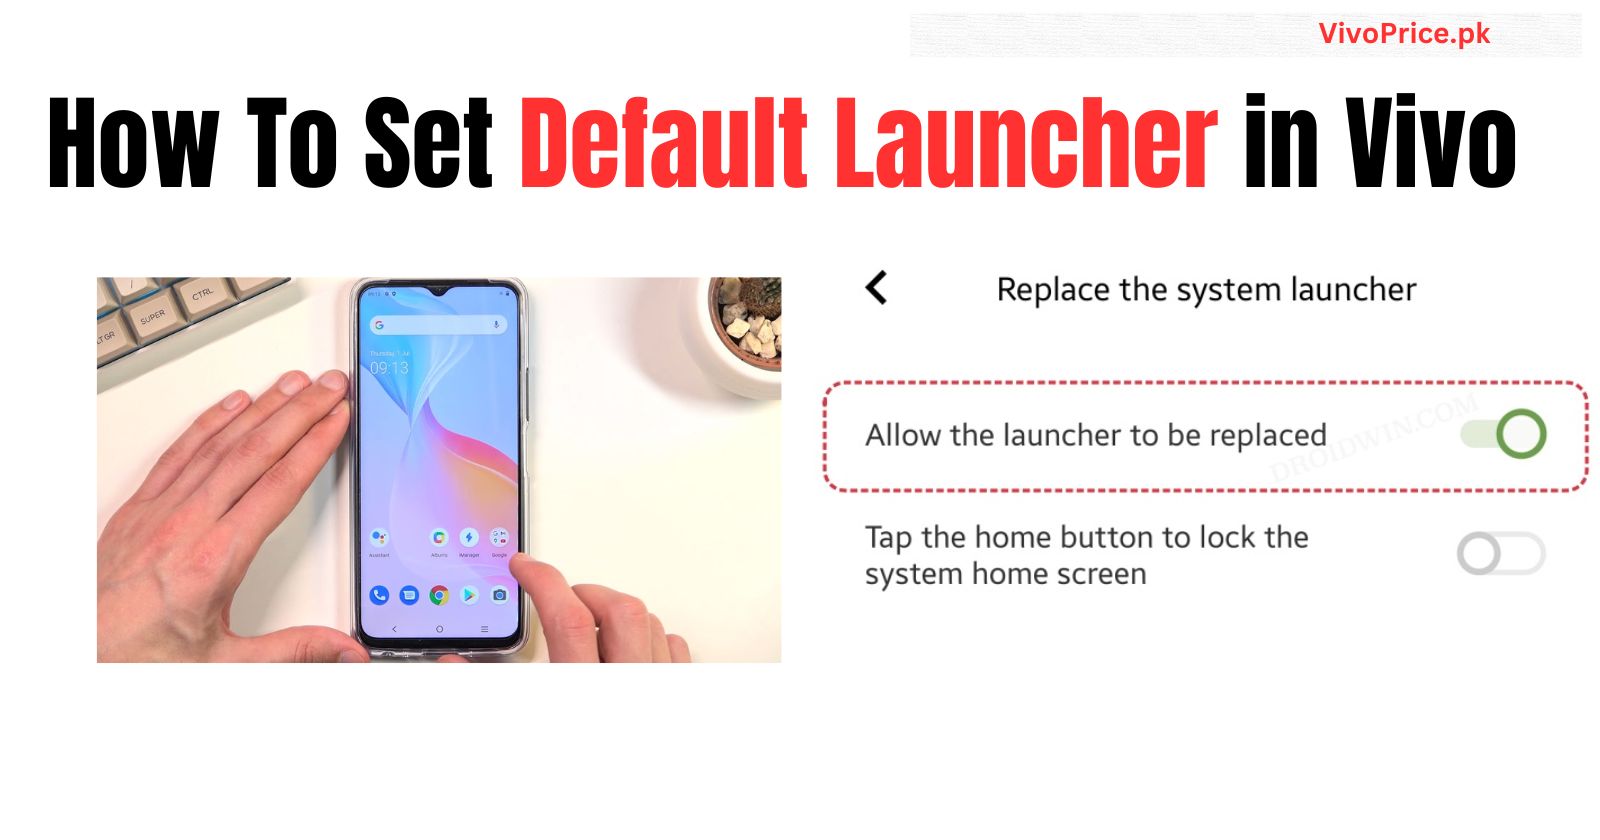
7. Select your preferred launcher app. You’ll see a list of all the launcher apps installed on your phone. Tap on the one you want to set as the default.
8. Tap on “Set as default”.
That’s it! Your chosen launcher app is now the default launcher on your Vivo phone. This means that whenever you press the home button or swipe up from the bottom of the screen, your preferred launcher will open instead of the stock Vivo launcher.
Here are some additional things to keep in mind:
- Some Vivo phones may have slightly different menus or options within the Settings app. However, the overall process of setting the default launcher should be similar.
- If you want to switch back to the stock Vivo launcher at any time, you can simply follow the same steps and select “Vivo Launcher” as the default.
Check Out Latest Phones Here: